Mailchimp is so popular that it has become synonymous with email marketing. It powers email marketing campaigns for over 12 million businesses. There are many features that work in this platform’s favor, making it a trusted brand name in its niche.
These include:
- It has different plans for different budgets, starting with a generous free plan
- It works as your all-in-one email marketing platform
- It has a relatable brand image
- It is easy to get started with
The last point needs to be emphasized. Mailchimp is not just easy to get started with, but also easy to use.
If you want to take the first steps and leverage the benefits of Mailchimp, Clear Imaging can take you on a step-by-step guide. The following steps should help you create your account with this multi-featured and valuable email marketing platform:
1. Getting Started
- Go to the main page at https://mailchimp.com/
- Click on the ‘sign-up’ button
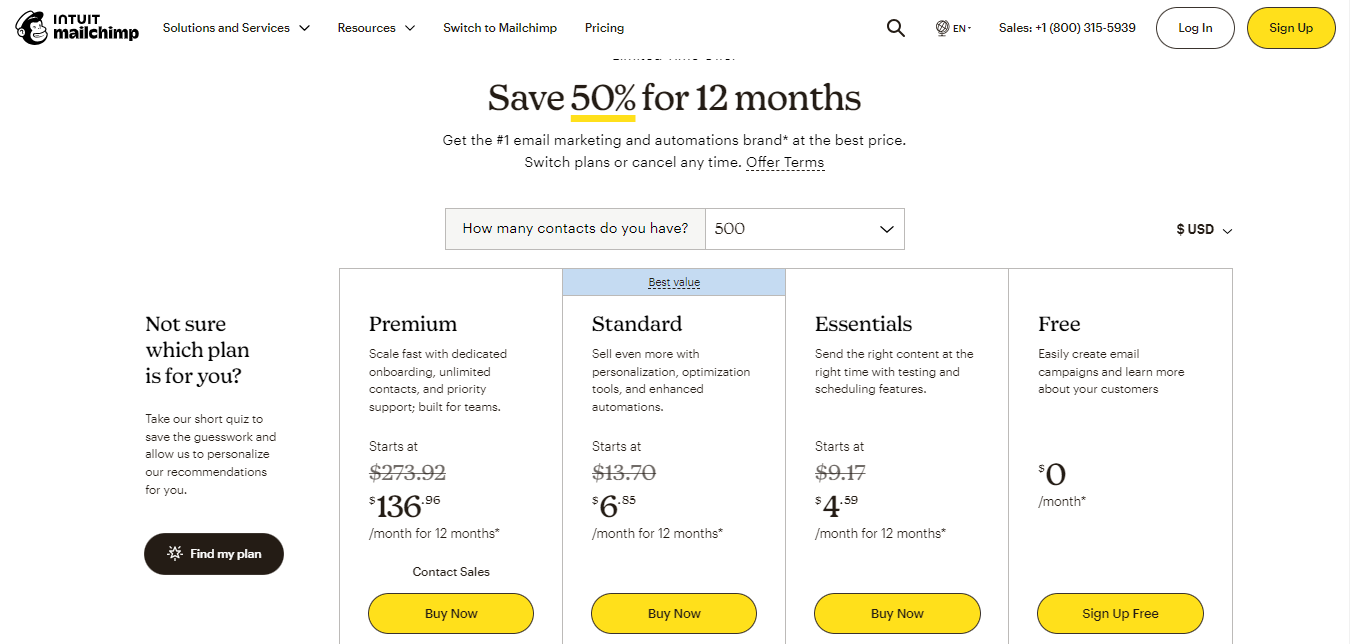
- You will find different plans offered by Mailchimp
- Choose the plan that matches your contacts list size, needs, and budget
- For a free account, click on ‘sign up free’
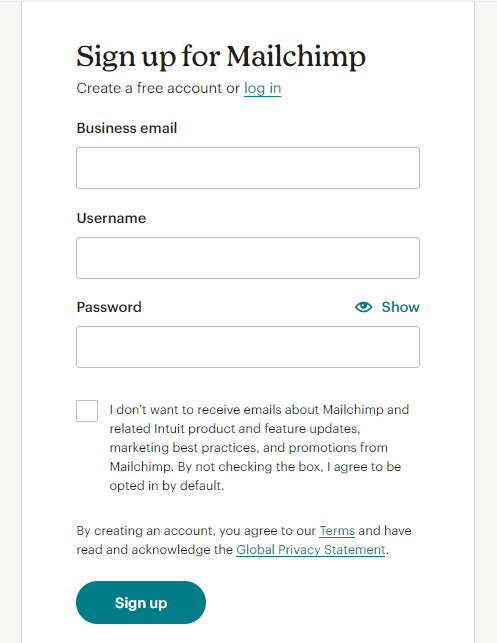
- You will be taken to the ‘sign up for Mailchimp’ page
- Type in your business email, username, and password and click on ‘sign up’
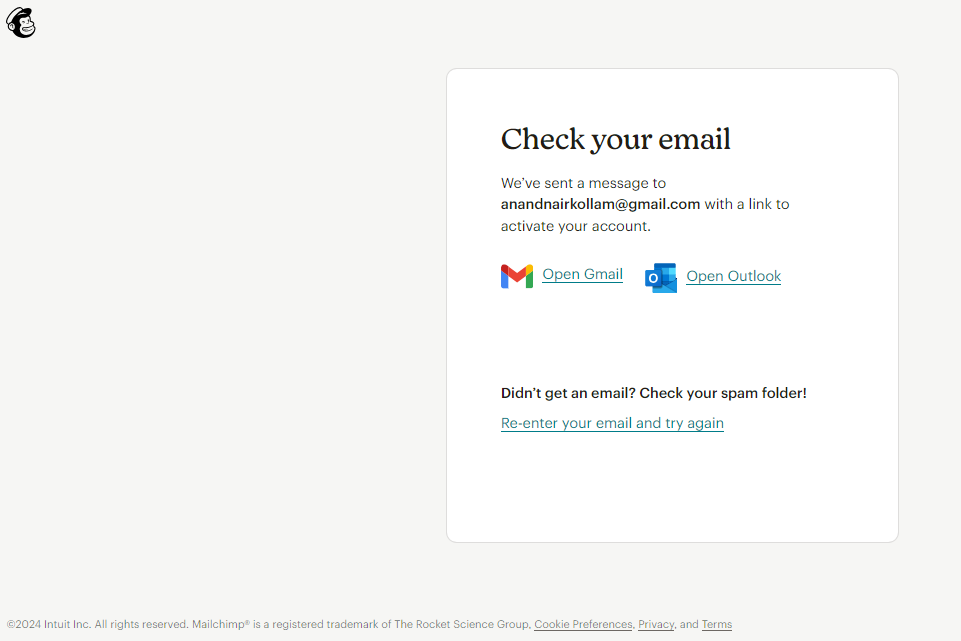
- Once you have filled in the information, a confirmation message will be sent to your email address
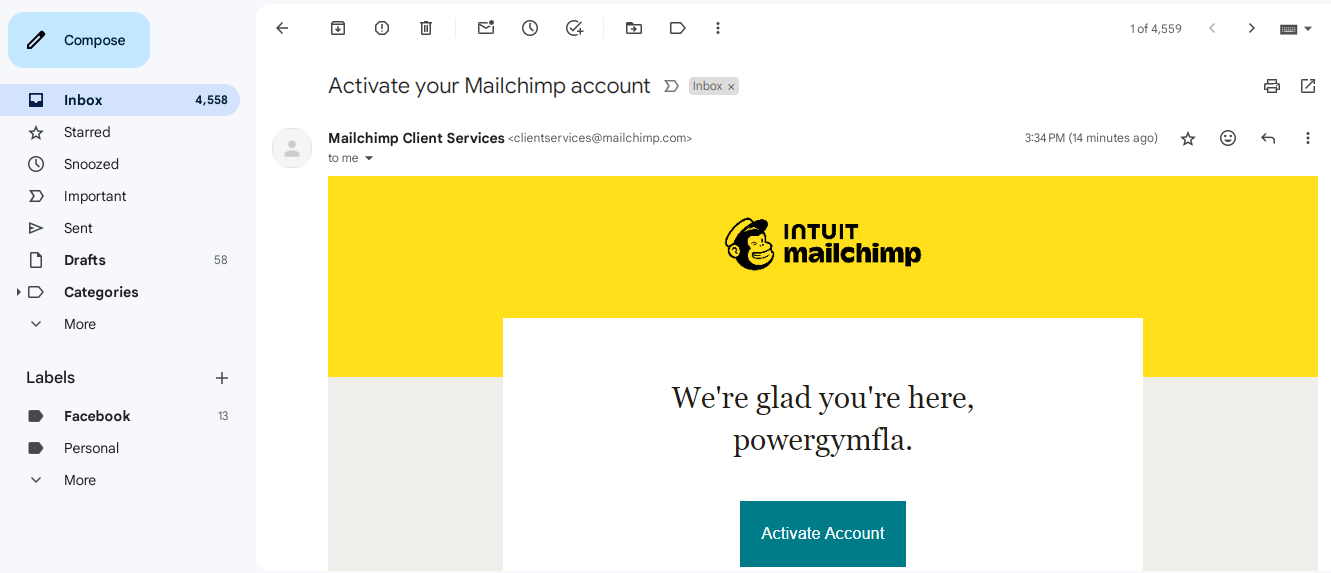
- Open your email inbox and the activation email and click on ‘activate account’
2. Provide Business Information
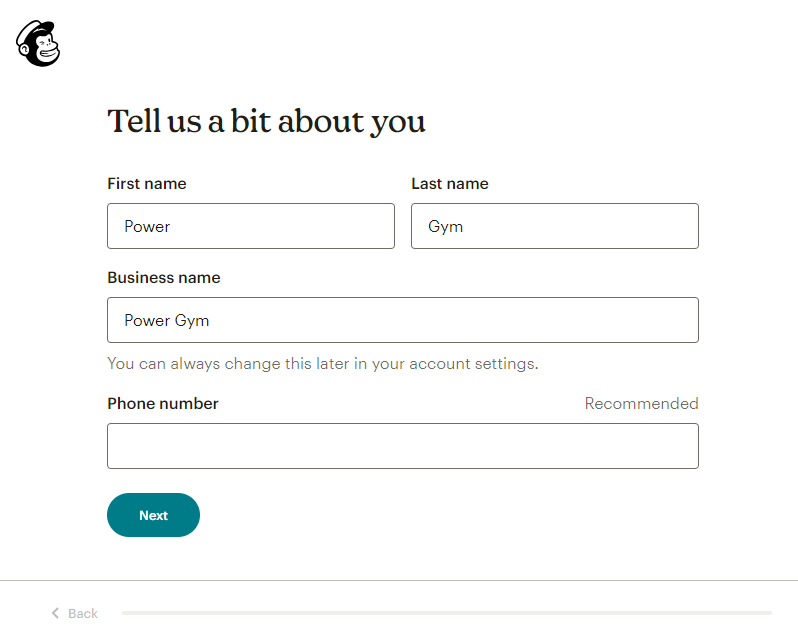
- Once your email has been confirmed, you will have to provide information on your business
- Provide your ‘first name’, ‘last name’, ‘business name’, and ‘phone number’.
- The business name will appear on all of your emails. The phone number is optional and can serve the purpose of acting as a recovery factor.
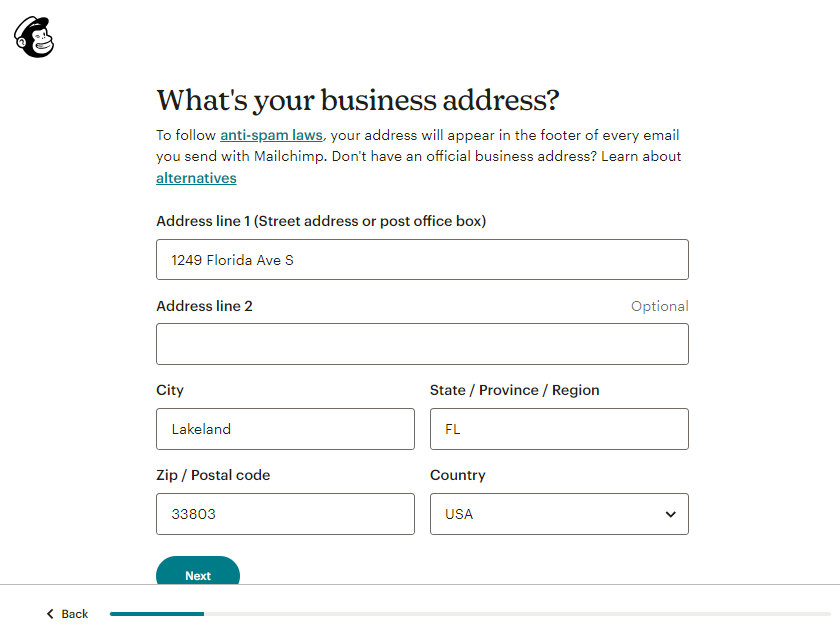
- The next page requires you to provide your business’ physical address
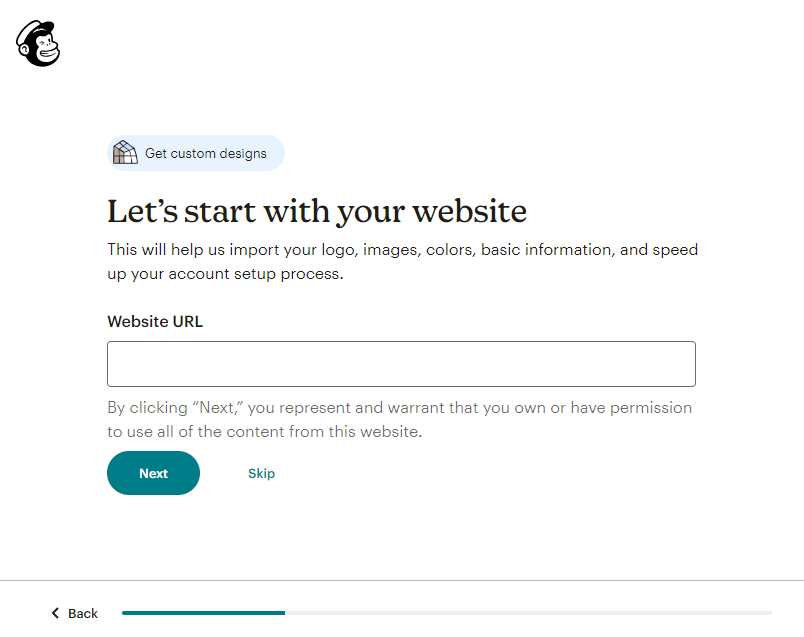
- The next page will require you to submit your website URL. Mailchimp can use your website to automatically create your on-brand content.
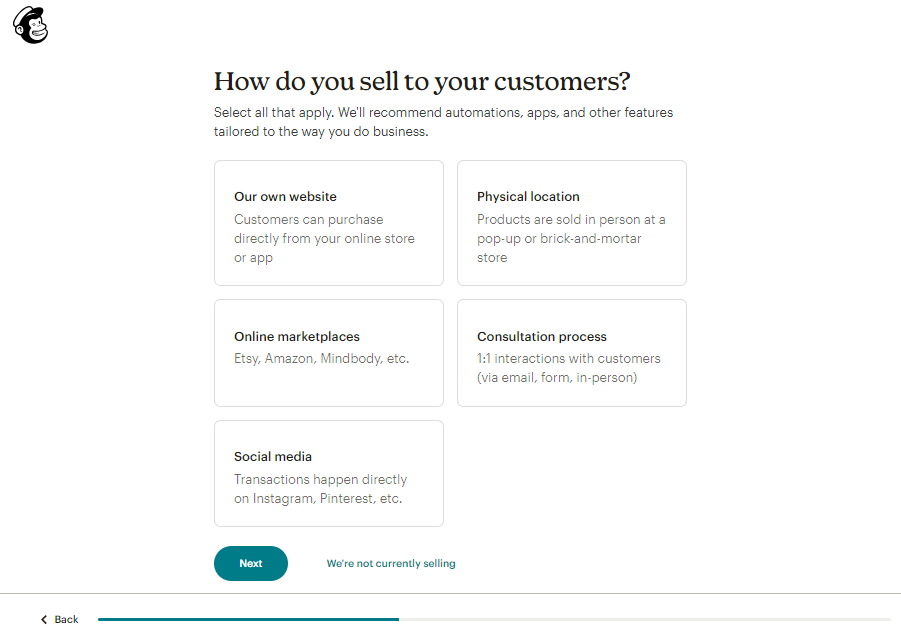
- Next, you should provide information on how you sell your products or services to your customers. It refers to the mode in which you reach out and how you interact with your customers.
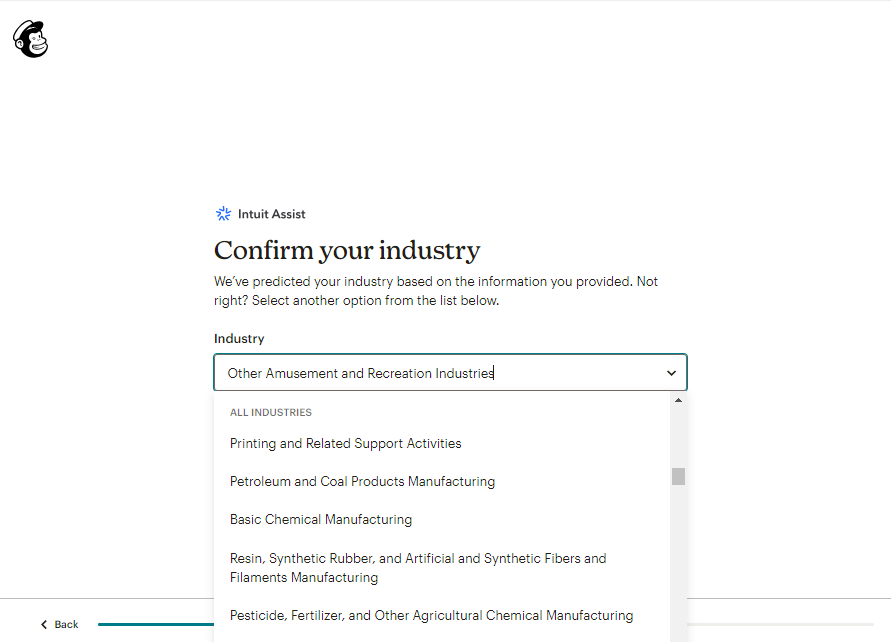
- Next, you should choose the industry you operate in. You can type in and search for your industry. There is an option if the industry is not mentioned in Mailchimp’s list. The above-mentioned business information helps the email marketing platform provide relevant guidance and content.
3. Provide Additional Information
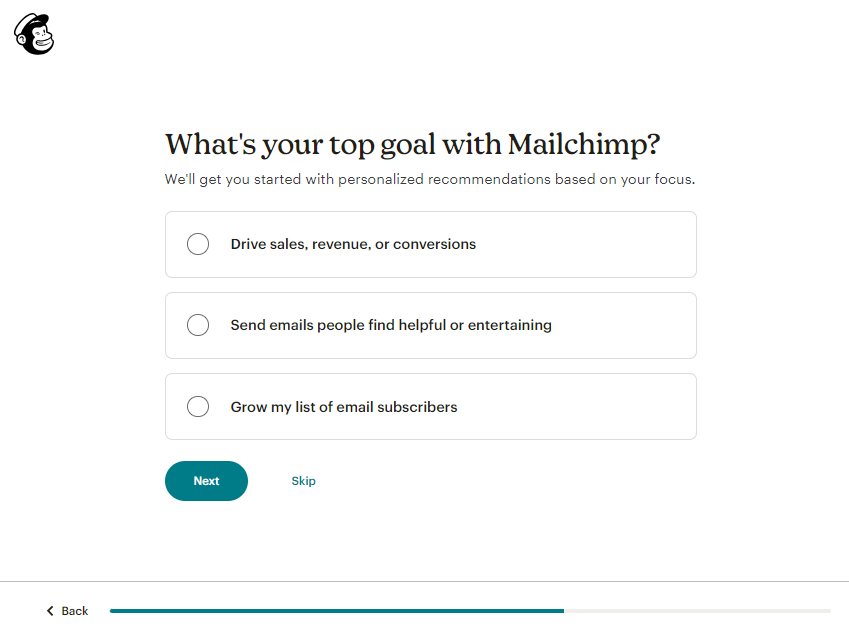
- Mailchimp also requires you to provide information on your goal with the mail platform.
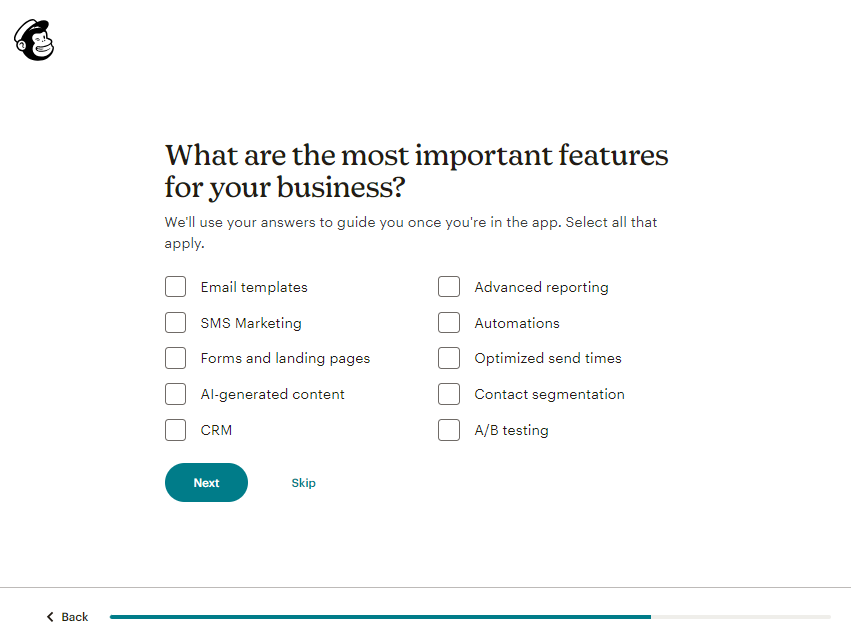
- Next, you should select the features that matter the most for your business and the email marketing campaigns you want to run.
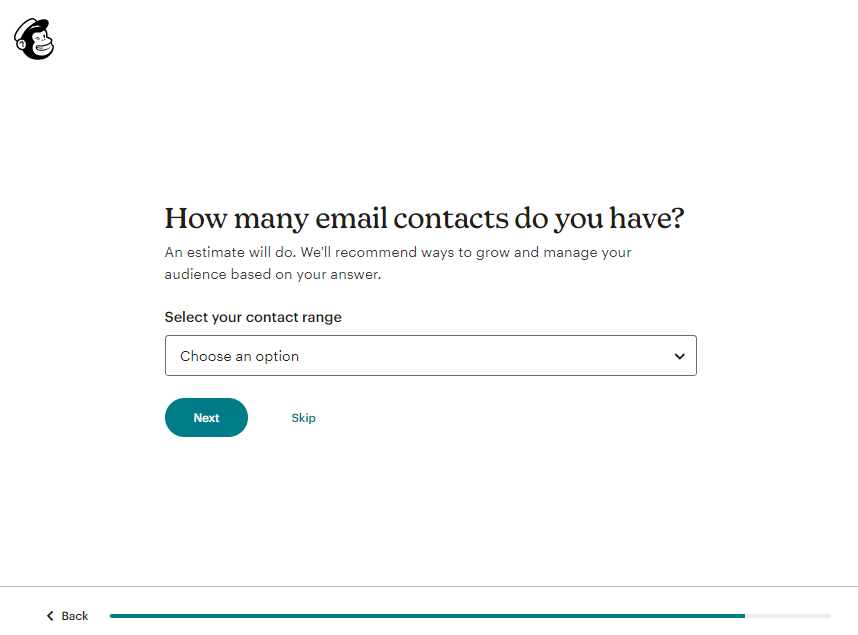
- Next, mention the number of email contacts you already have.
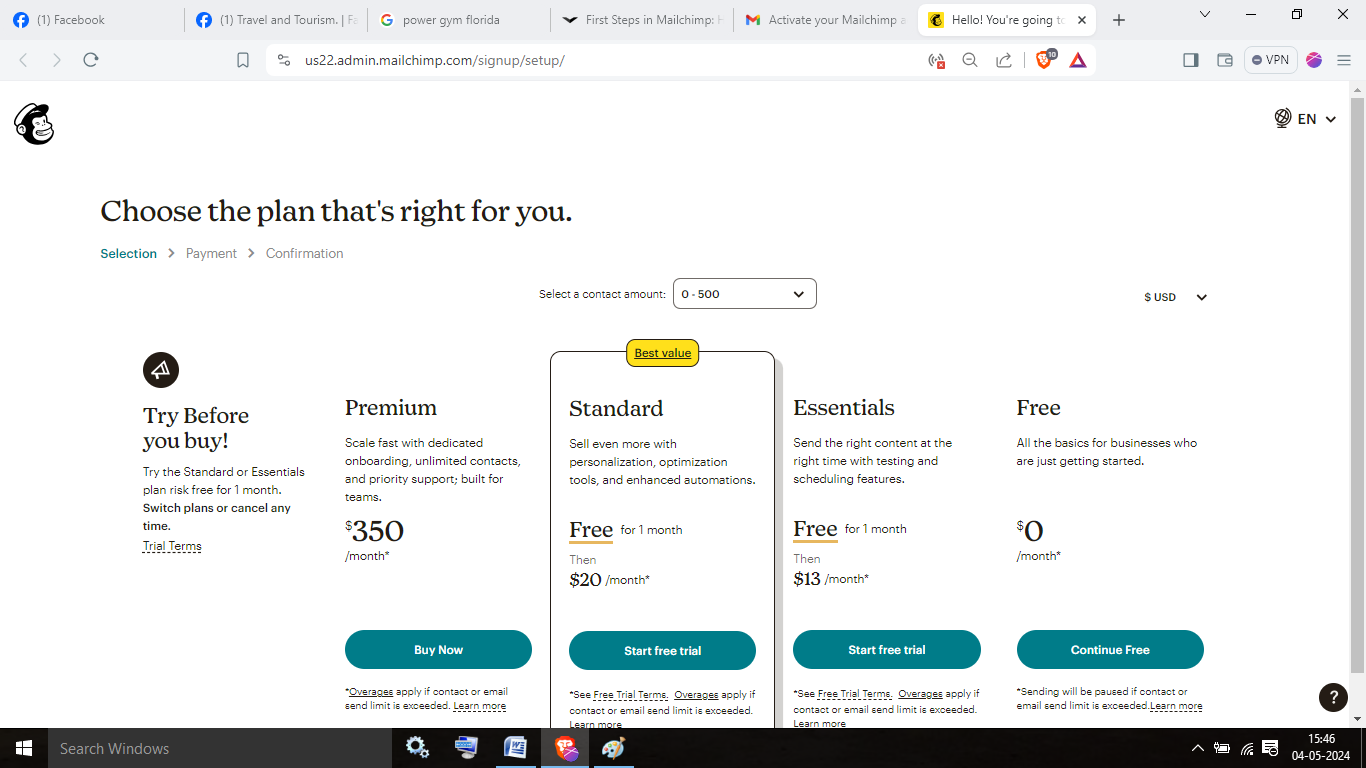
- Based on the number of contacts, you will again get the opportunity to choose the right plan. It is up to you whether you want to modify your plan details or not.
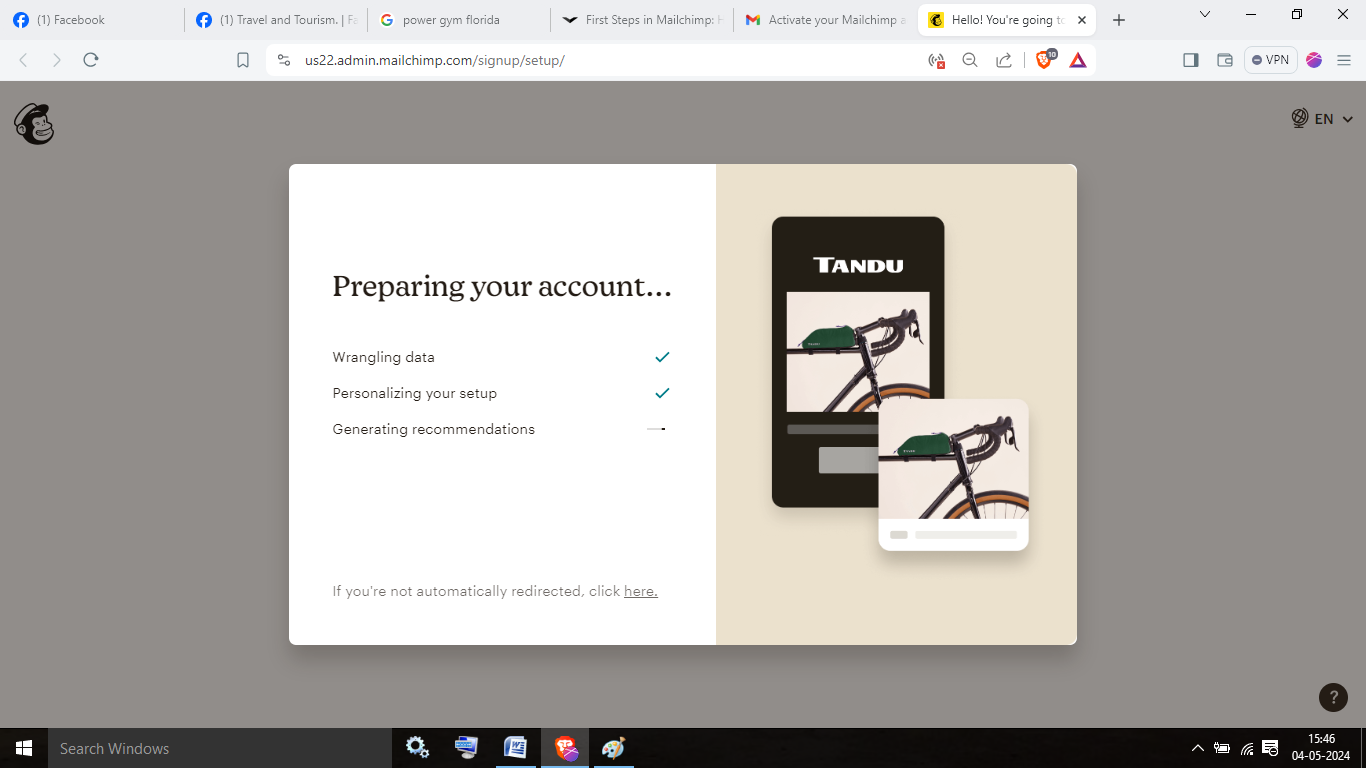
- Once you have furnished Mailchimp with all the above-mentioned information, it will collate and process all the submitted data and prepare your account.
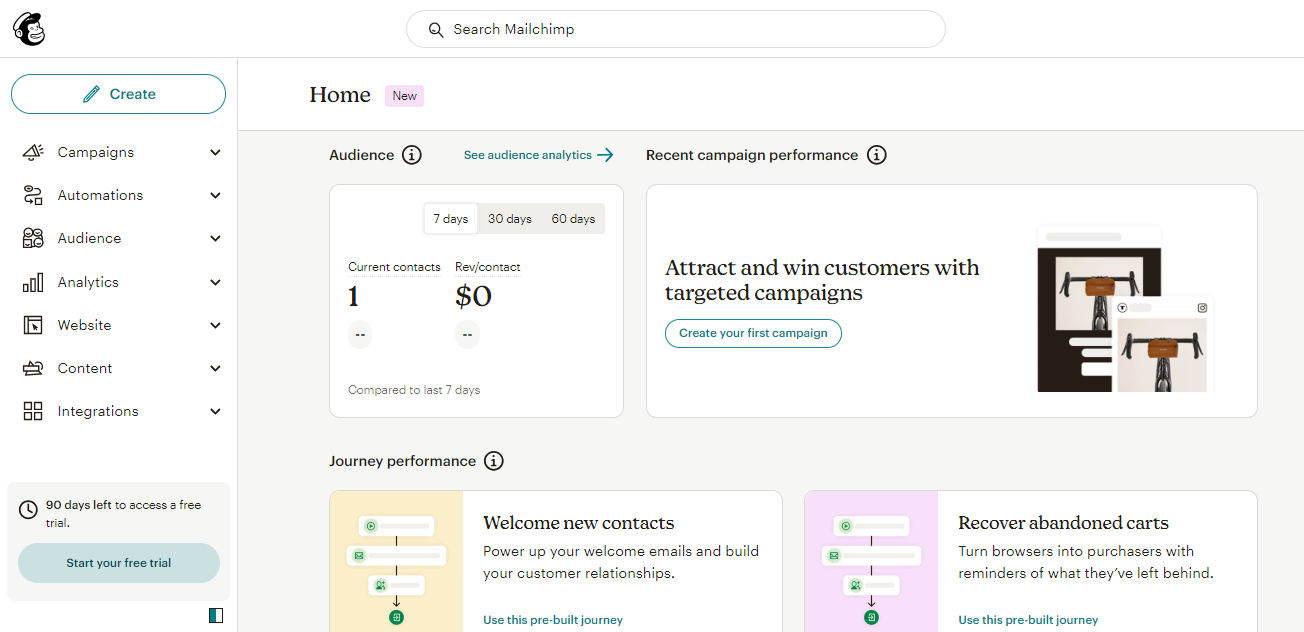
4. Dashboard
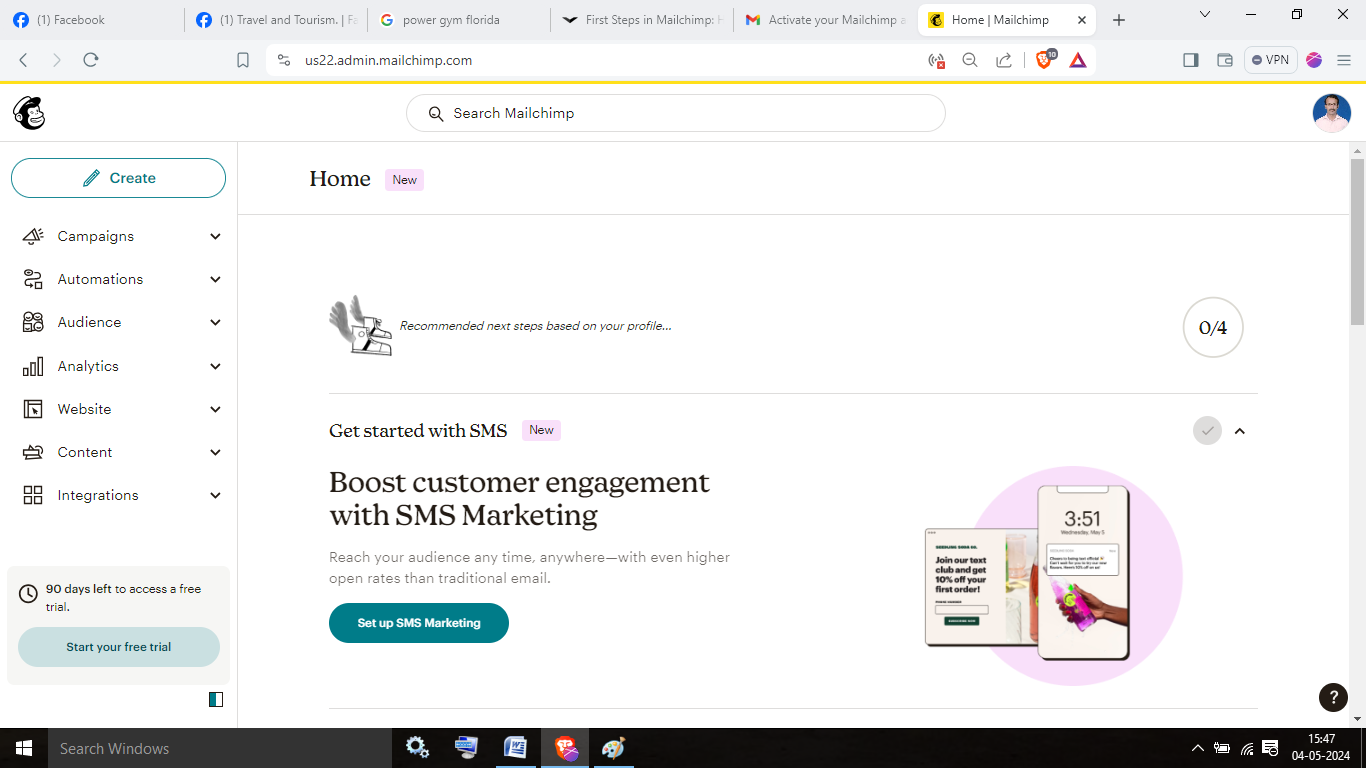
The interface will then take you to Mailchimp’s dashboard. Based on the features you selected during account creation, you will be presented with different options and functionalities.
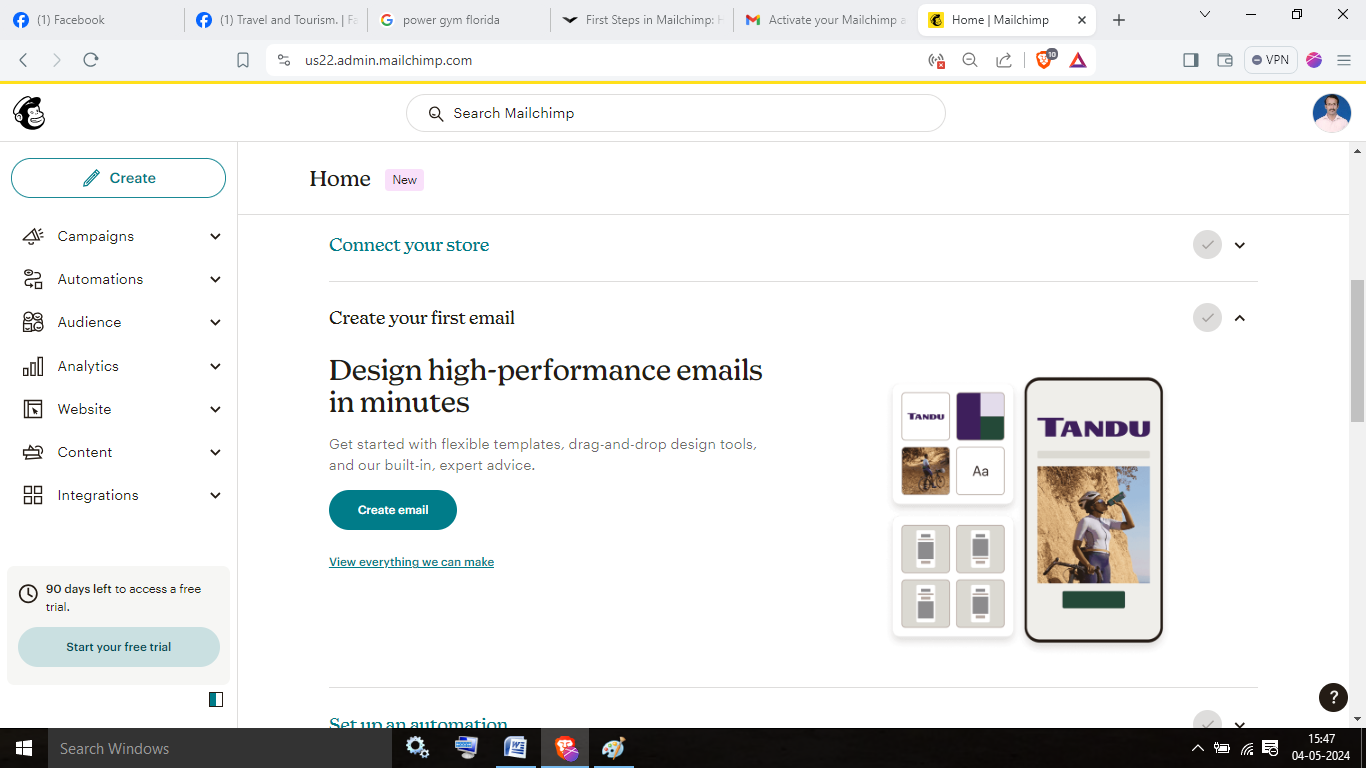
You are ready to get started with your first email campaign or SMS marketing campaign.
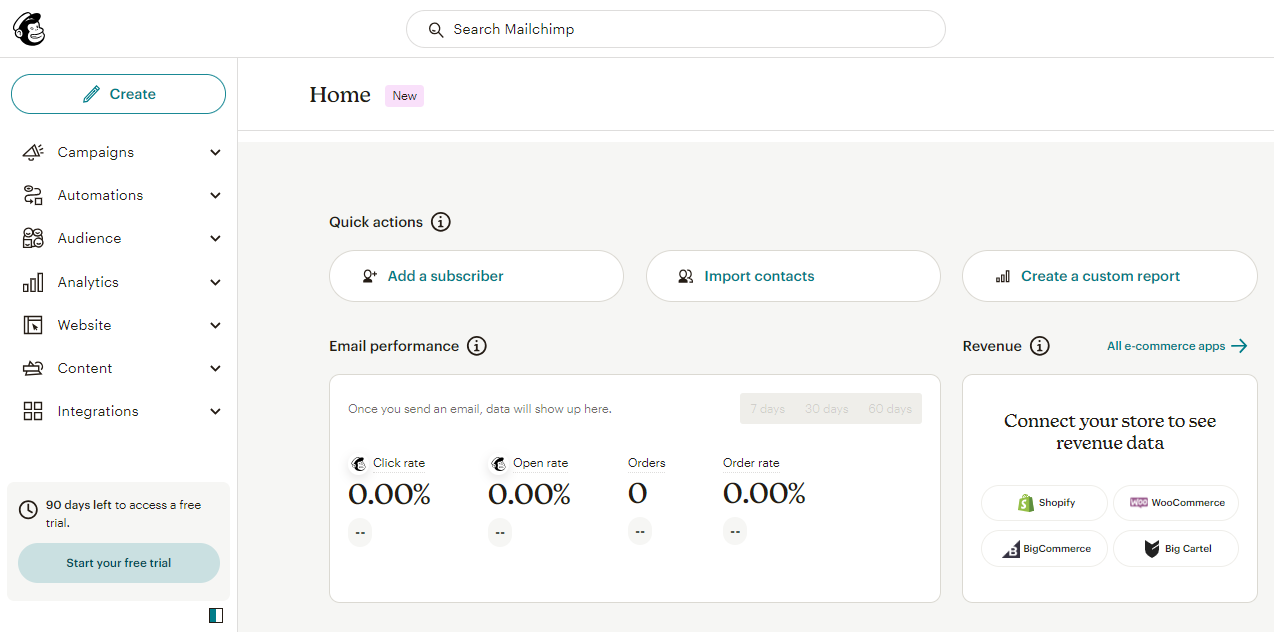
The dashboard will also provide you with email performance data and insights.
Now that you have created your Mailchimp account, you should get started with creating your list before building your campaigns.
If you need more assistance with account creation and email campaign management on Mailchimp, feel free to contact Clear Imaging. You can reach out to our email marketing experts at 1(800) 380-6942. We are also available via this Online Form.